Learn how to vinyl wrap your car in 10 minutes or less! Follow these simple steps to achieve a professional-looking vinyl wrap on your vehicle without spending hours on the process. We’ll cover everything from cleaning the surface to applying the vinyl and finishing touches. Let’s get started!
Preparation and Cleaning
Before you start vinyl wrapping your car, it’s crucial to prepare and clean the surface properly. Here’s what you need to do:
Gather Your Supplies
Make sure you have all the necessary supplies, including vinyl wrap, isopropyl alcohol, knifeless tape, a squeegee, a knife, a wrap glove, a heat gun, and a clay mitt.
Clean the Surface
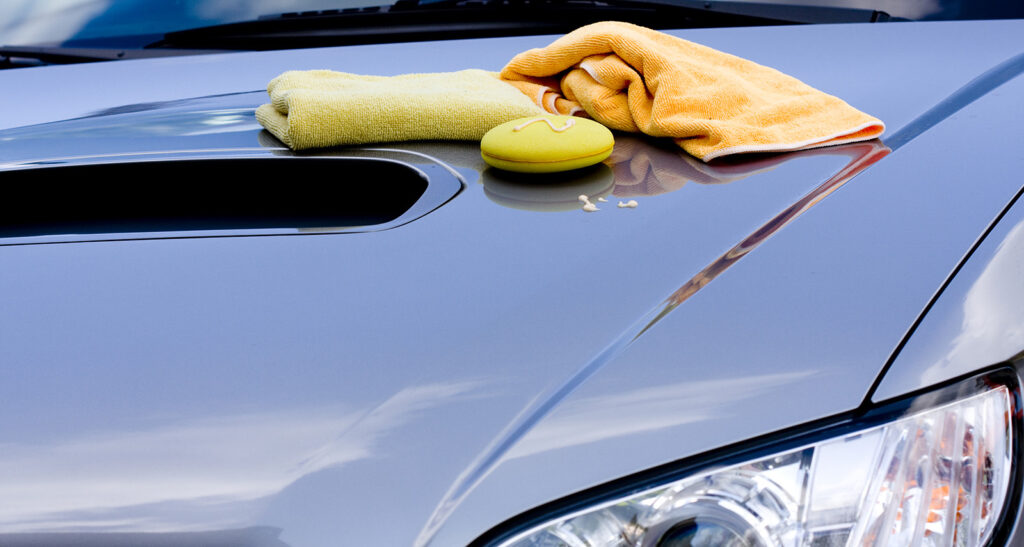
Use the clay mitt to clean the surface of the paint, ensuring it’s free from any dirt, grime, or imperfections that could affect the adhesion of the vinyl wrap.
Wipe with Isopropyl Alcohol
After cleaning with the clay mitt, use isopropyl alcohol and a lint-free towel to further clean the edges and corners of the surface, as well as the actual paint surface to be wrapped.
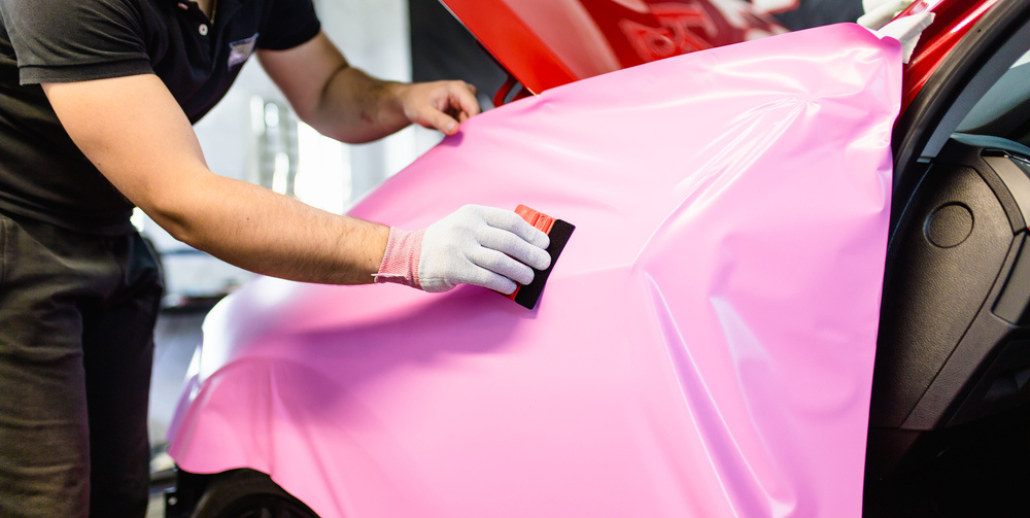
Position the Vinyl
Once the surface is prepped and cleaned, position the vinyl up against the side of the car and use wrap magnets to hold it in place while you trim off the excess.
Vinyl Wrapping the Car
Once you have gathered all the necessary supplies, it’s time to start wrapping your car in vinyl. Here’s a step-by-step guide:
Clean the Surface
Use a clay mitt to clean the surface of the paint, ensuring it’s free from any dirt, grime, or imperfections that could affect the adhesion of the vinyl wrap.
Wipe with Isopropyl Alcohol
After cleaning with the clay mitt, use isopropyl alcohol and a lint-free towel to further clean the edges and corners of the surface, as well as the actual paint surface to be wrapped.
Position the Vinyl
Once the surface is prepped and cleaned, position the vinyl up against the side of the car and use wrap magnets to hold it in place while you trim off the excess. visit allcarwallpapers.com homepage for more car wrap ideas for different occasions.
Trimming and Wrapping
Using a knife, trim off the excess vinyl, focusing on areas like the window, wheel well, and roof rails. Then, peel the clear protective layer off the vinyl and start wrapping the car.
Glossing Phase
After positioning the vinyl, focus on getting all the wrinkles out by using a squeegee and applying heat where necessary. Pay special attention to flat surfaces like the door and pillar.
Finishing Touches
Once the vinyl is wrapped, trim off all the excess vinyl, ensuring a clean and seamless finish. Pay attention to areas like the window seal and gaps between the door and quarter panel.
Challenges and Tips
Wrapping a car in vinyl can be a challenging task, but with the right tips and techniques, you can achieve professional results. Here are some common challenges you might face and tips to overcome them:
Dealing with Wrinkles

Wrinkles can be a common issue when wrapping a car in vinyl. To avoid this, work slowly and methodically, using a squeegee to smooth out the vinyl as you go. Applying heat and stretching the vinyl gently can also help eliminate wrinkles.
Trimming Excess Vinyl
Trimming excess vinyl, especially around edges and corners, can be tricky. Use a sharp knife and make small, precise cuts to ensure a clean and professional finish.
Handling Inlays
Inlays, or areas that require multiple pieces of vinyl, can be challenging to execute seamlessly. Take your time, plan the layout carefully, and use heat to mold the vinyl to the contours of the car for a smooth transition between pieces.
Dealing with Glue Lines
Some vinyl wraps may have visible glue lines, which can detract from the overall appearance. Choose high-quality vinyl wrap materials to minimize this issue, and take extra care when applying the vinyl to minimize the appearance of glue lines.
Preparation is Key
Ensure that the surface of the car is meticulously cleaned and free from any imperfections before applying the vinyl. Proper preparation will result in better adhesion and a more professional-looking finish.